|
I went along to my local Embroiderer's Guild 'Show and Tell' evening a while back, taking a piece of work that was finished, but still in the frame. I was quite surprised that most of the ladies were cooing over the back of the work, not the front! Apparently this was because the back of the work was so neat... if you know me in person, I'll give you a bit of time to get back up off the floor - 'neat' and 'tidy' are not words generally associated with me! In this post I'll give you some tips on how to keep your work tidy at the back, but first, I'll address the most important question - why bother? Folk only look at the front, don't they? 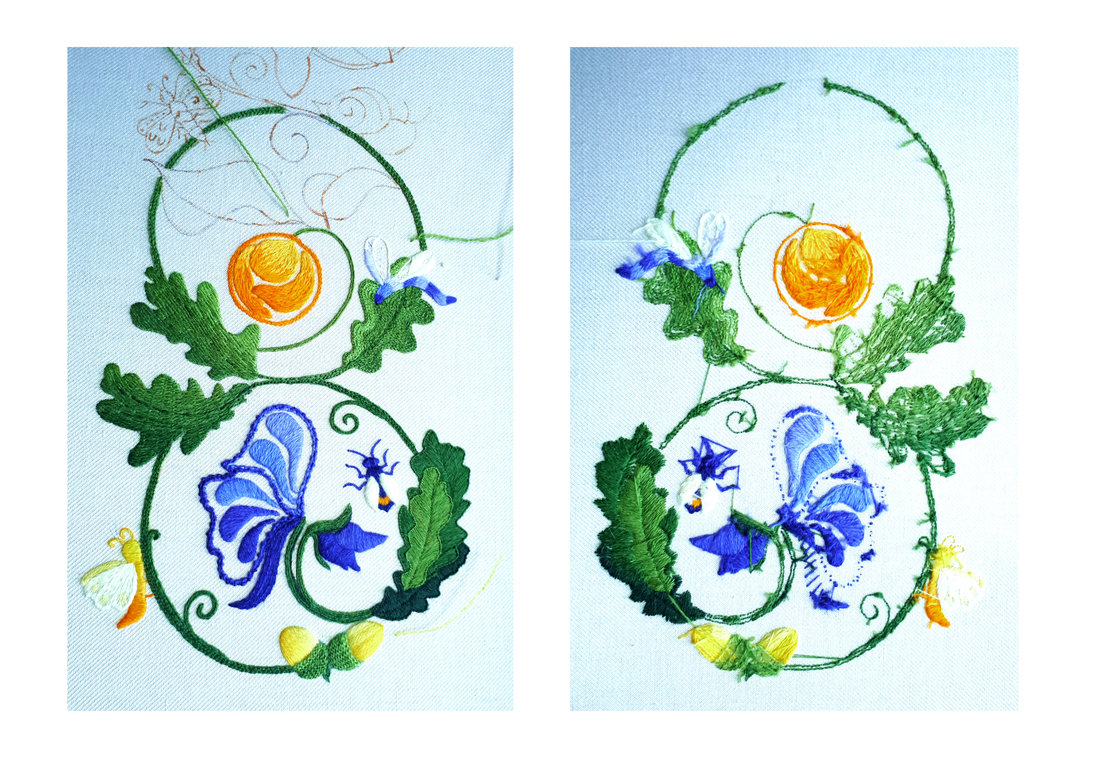 Front (left) and Back (right) of a WIP (work in progress) Yes! People only look at the front, unless you're teaching an embroidery class... or neglect to mount your work before taking it to the local Embroiderer's Guild Show & Tell! Apart from that, you can have a big a bird's nest on the back as you like... however, that bird's nest can affect the appearance of the front of the work in a few important ways:
Starting and Finishing Your Thread One of the reasons that the back of my work is neat is that I use the "Lost knot Technique" to start and finish my thread. I learnt this at the Royal School of Needlework, and it was a bit of a revelation! I had been taught to use a regular knot by my Grandma, and I'd picked up the "weaving in" technique from Cross Stitch kits. A lot of folk blogging about Embroidery (and even on Craftsy!) are self-taught, and the trouble is that Embroidery books don't often tell you how to start and finish your threads, which means some people just make something up... Like the very maverick, "I'll just leave a long tail at the back of the work, and hope that somehow it will be magically sewn in and I won't have to worry about it!" This is definitely the worst technique as it creates a lot of loose thread at the back of the work, and it's soooooo frustrating, as the thread often comes right out with the first stitch! The stitches can also come loose over time, especially if you're stitching a garment or bag, as the thread is not properly secured. 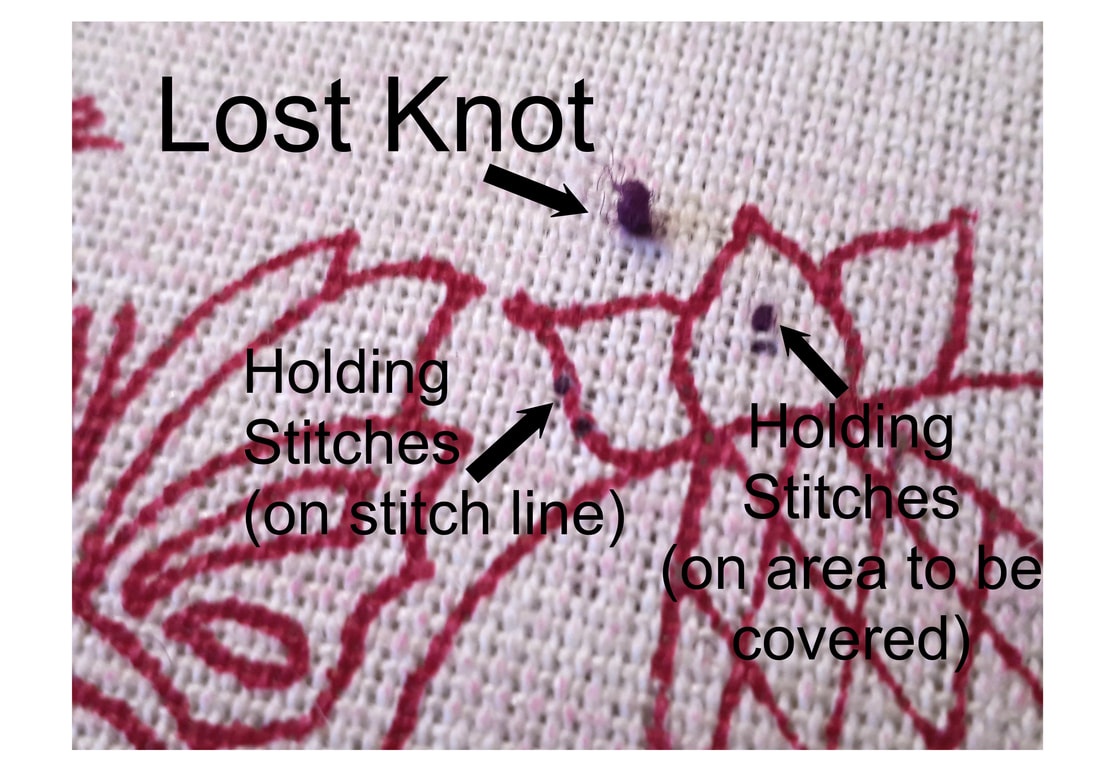 Lost Knot Technique So called because you start the thread with a knot, but lose it later!
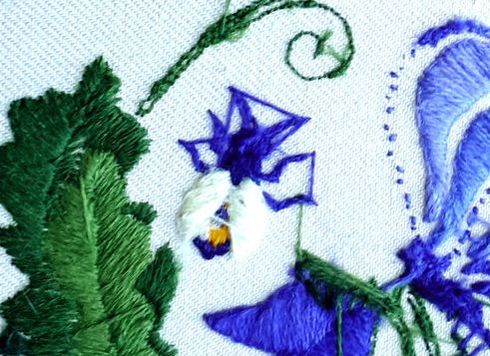 Thread stranded between the feet of the bee Stranding Your Thread If you are stitching a particular colour in one area of your pattern, and you're going to use that colour again in another part of the pattern, you can "strand it" across the back of the work. In other words, you can take a giant stitch across the back of the work and bring up your thread in another area, BUT.... your giant stitch shouldn't be more than about 1"(3cm) long! If you want to travel further than that you need to weave the thread through the back of the work. Very long threads stranded across the back of the work will cause the fabric to pucker up and not lie flat when you've finished. They can also make it harder to stitch in the areas that they cross over on their way to their final destination! 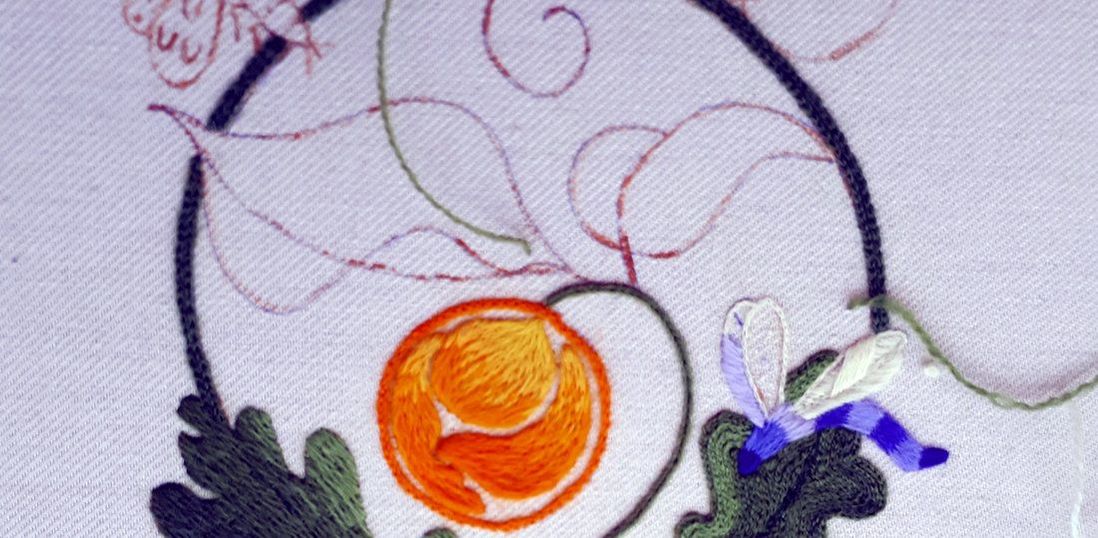 Green threads parked on the front of the work for later Parking Your Thread If you want to save a particular colour of thread for later, it can be tempting just to leave it dangling at the back of the work. The trouble with this is, that it gets in the way; it can get sewn in to the work, and it generally contributes to the creation of a bird's nest! It's much better to park your thread on the front of the work instead. Take your needle up to the surface and leave your thread somewhere on the edge of the work. Make sure it's not going to run under an area that you're about to work, or it will get stitched in. Don't leave too many parked threads on the surface - they'll only get sewn into the back of the work and become too short to be useful, as well as creating a bit of a mess. If you come to one of my classes, you may see some of my WIPs with lots of parked threads all over the place - this is just a result of demonstrating lots of different techniques in a short space of time, and I don't do this at home! If you have lots of parked threads, it's probably time for a bit of a tidy up. Finish them off by working those areas of the design, or finishing the thread and discarding them. Using excessively long pieces of thread
You might like to read my blog post on "How long is a piece of thread?" A: 40cm, if you don't want to read it! One of the issues with using thread that is too long is that it wears thin and/or knots. This can create loops at the back of the fabric that you don't notice until it's too late! Thread that breaks needs to be woven in, which is not a terrible thing, but if you really want the back of the work to be super neat, then you'd want to avoid weaving in altogether. So, there you go! That's my guide to keeping your work neat on both sides of the fabric. The most important thing however, is to enjoy your stitching - don't worry too much what the back looks like! Tara x
1 Comment
|
Tara Dakini Archives
December 2019
Categories |
 RSS Feed